Overview
Sender Profiles are used to specify the From and Reply-to information that is part of an email header. A Sender Profile can be used repeatedly for email sends. A Sender Profile consists of a From Address, From Name, Reply Address, and Reply Name. After the Sender Profile is established, you won’t have to reenter these individual elements into the header again.
In addition to saving data entry time, Sender Profiles should be used for maximum deliverability and to maintain brand consistency of where email messages appear to be sent from.
As well, your customers often have relationships with different employees or departments within your utility. Because of this, you may wish to send out different emails from unique From Names or direct all replies to a specific email address within your utility. By creating multiple Sender Profiles, you can handle different types of communications separately. Examples might include having different Sender Profiles for marketing messages, one-to-one communications from account managers, or customer service notifications.
You can use a Sender Profile to display dynamic subscriber-specific From or Reply information in the email header. For example, an email could appear to come from each customer’s account manager. The From Name, Reply Name and Reply Address fields all support dynamic values. To use this feature, each dynamic value must be stored as an attribute for each of your subscribers. For more information on Dynamic values, see Email Custom Scripting Variables.
Steps
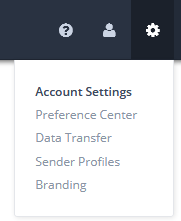
- Click the Account Settings (gear) icon on the top menu of Engage, then click on Sender Profiles.
Result: The Sender Profiles page displays with all of the available send profiles listed in the table.
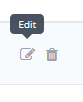
- In the Actions column of the row of the sender profile that you would like to modify, click the Edit button.
Result: The individual Sender Profile page displays for the profile you selected.
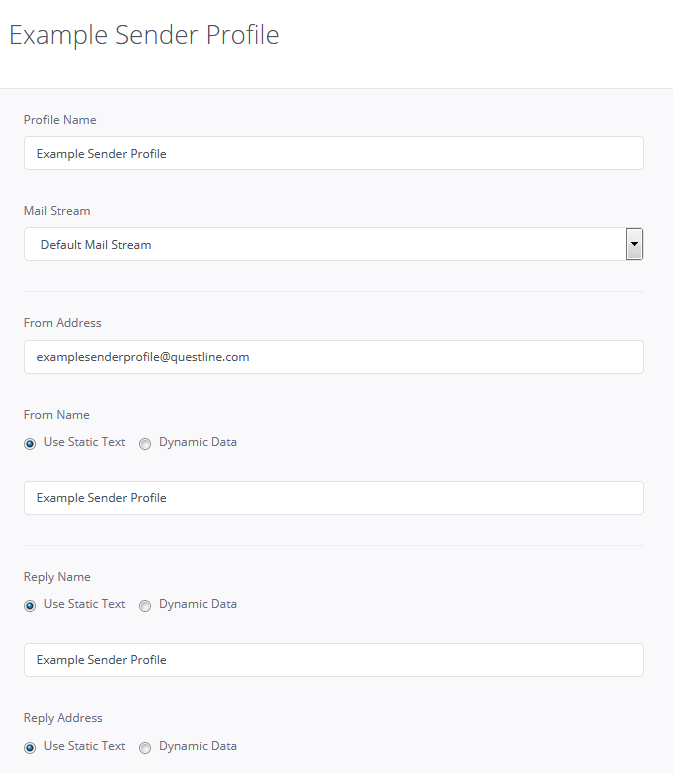
- Modify the information as needed and click Save Changes to save your changes and exit the individual Sender Profile page.

Note: To exit without saving changes, click Cancel.